How to Build Your First Website: A 7-Step Guide for NZ Beginners
Key Takeaways
- Defining a clear purpose for your site ensures you only build what is necessary for your customers.
- Using a local website builder simplifies the technical setup and provides tools tailored for the New Zealand market.
- Registering a .co.nz domain name establishes immediate trust and credibility with local shoppers.
- Optimising for mobile users is a priority as most Kiwis now research products on their phones.
- Starting with a DIY tool allows for a low-risk entry into the digital market with the option to upgrade later.
Getting your business online in Aotearoa often feels like a daunting task, but it is one of the most rewarding moves you can make. We see many local business owners hesitating because they worry about the technical hurdles or the cost. However, the reality of the New Zealand market shows that waiting is the biggest risk of all. Recent data reveals that only 53% of New Zealand businesses have a website, a figure that has remained flat for several years. This gap exists despite the fact that 61% of those same businesses agree that a website is their most vital digital tool.
The opportunity for those who do take the leap is significant. We know that 8 out of 10 Kiwis search online for information and prices before they ever decide to make a purchase. If you are not there when they search, you are essentially handing that customer to a competitor. Whether you are a plumber in Petone or running a boutique cafe in Christchurch, having a professional digital presence is the modern equivalent of a sign above your door. This guide follows a proven 7-step sequence for beginners to move from a basic idea to a live, functional website.
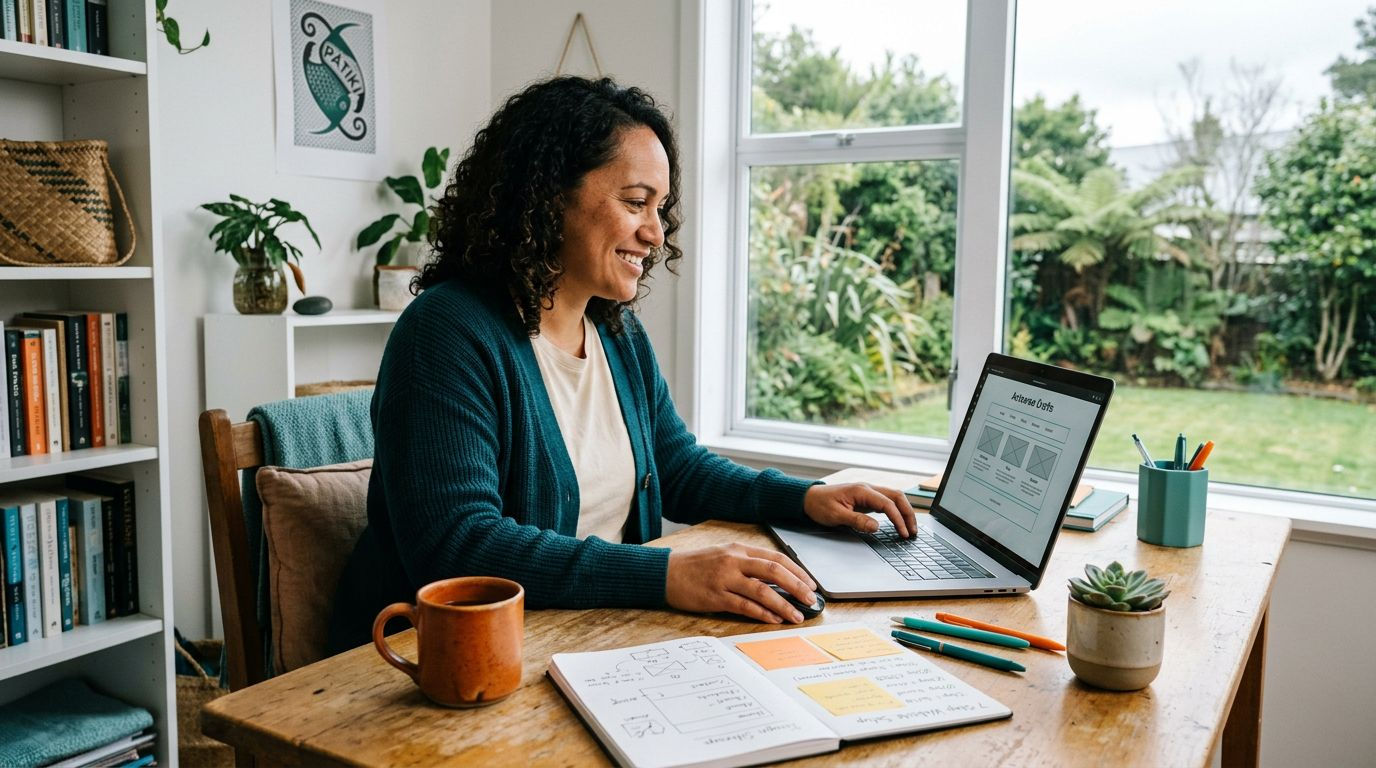
Step 1: Define your website goal and structure
Every successful project starts with a clear plan. In our experience, the most effective websites are those built with a single, primary purpose in mind. Are you looking to generate leads for a service, sell products directly, or simply provide a digital business card with your contact details? Defining this early prevents you from over-complicating the design. A simple one-page site is often enough to bridge the gap between your business and the 80% of Kiwis researching online.
We recommend sketching out a basic map of the pages you need. For most small NZ businesses, this includes a Home page, pages for the individual services you offer, and a Contact page. Keeping your structure lean makes it easier for visitors to find what they need. It also makes the building process much faster for you. When you know exactly what information needs to go where, you avoid the "blank page" syndrome that stalls so many DIY projects.
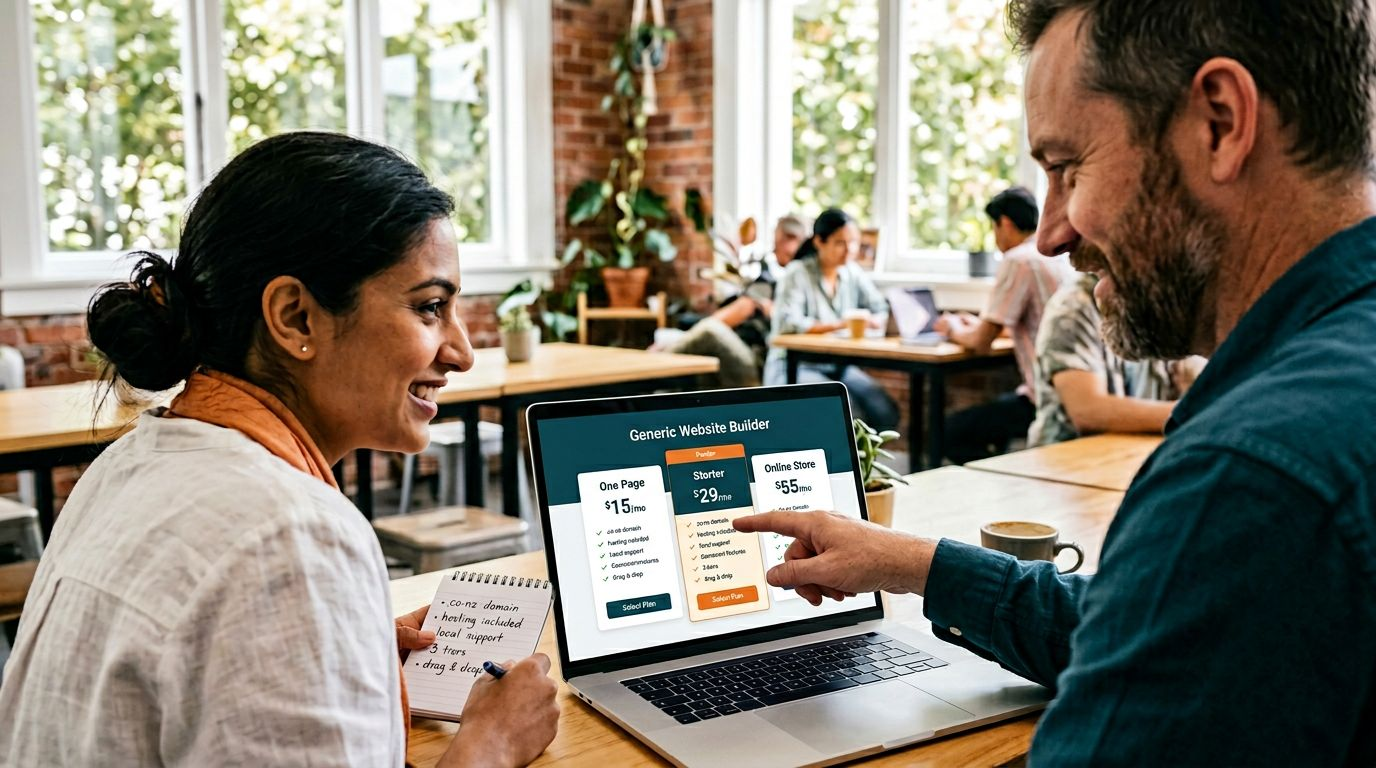
Step 2: Choose the right website builder in NZ
The platform you choose acts as the foundation of your site. For beginners, we strongly advocate for a drag-and-drop NZ website builder. These tools allow you to see your changes in real-time without needing to touch a single line of code. We have designed our DIY platform to be low-risk: you can build your entire site for free and only start paying for hosting once you are ready to go live.
Pricing is a major consideration for any local business. We offer three distinct tiers to match different needs. Our AI Generated One Page plan is $19 per month and is perfect for a fast, credible starter presence. For those needing more depth, our Starter Website plan at $35 per month provides unlimited customisable pages. If you are looking to sell goods, our Online Store plan is $55 per month. Choosing a local provider ensures your site is hosted on servers that perform well for Kiwi visitors, and you have access to support that understands the local business landscape.
Step 3: Secure your domain name and hosting
Your domain name is your digital address, such as yourbusiness.co.nz. We've seen that 74% of NZ businesses view .nz domains as more trustworthy, and local customers share this sentiment. Using a .nz or .co.nz suffix immediately tells your audience that you are a local operator. This builds a layer of trust that generic .com addresses often lack in the New Zealand market.
Hosting is the service that keeps your website accessible on the internet. When you use a DIY builder, hosting is usually bundled into your monthly plan, which simplifies your billing. While a professional agency build in NZ might cost $999 for a one-page site or upwards of $2,999 for a full store, starting with a DIY plan keeps your initial overheads low. Our hosting plans range from $19 to $55 per month, providing a professional home for your site without the large upfront investment of a custom build.
Step 4: Pick a template and customise your design
You do not need to be a graphic designer to create a beautiful website. Most modern builders provide hundreds of templates that are already professionally designed. The key is to choose a layout that matches the "vibe" of your business. A law firm in Lower Hutt might choose a clean, structured template with neutral colours, while a creative studio might opt for something more vibrant and image-heavy.
Customisation is where you make the site your own. You can swap out colours to match your branding, upload your logo, and change fonts to ensure readability. We suggest keeping your design simple. Too many competing elements can distract a visitor from your main message. Focus on clear headings and plenty of white space to make your content easy to digest on both desktop and mobile screens.
Step 5: Create and add your content
Content is the information that convinces a visitor to become a customer. This includes your text, images, and videos. Many beginners find writing about themselves to be the hardest part of the process. To help with this, we provide an integrated AI assistant that can generate page copy and product descriptions for you. This tool is a great way to build, launch, and grow online with a DIY website by overcoming the initial hurdle of content creation.
When adding images, ensure they are high quality but compressed for the web. Large image files can slow down your site, which frustrates users and hurts your search engine performance. Our builder handles much of this automatically by resizing and optimising images as you upload them. Remember to include a clear "Call to Action" on every page, such as a "Book Now" button or a "Contact Us" form, so your visitors know exactly what to do next.
Step 6: Optimise for Search Engines (SEO)
Search Engine Optimisation, or SEO, is the process of making your site visible to people searching on Google. This is more important than ever because search habits are changing. Research shows that around 60% of all searches now end without a click to an external website. On mobile devices, this figure jumps to 77%. This means your website must be fast, mobile-friendly, and structured so that Google can easily understand your content and display it in search results.
We focus on the "unseen backbone" of your site by ensuring technical SEO elements like business schema and mobile responsiveness are handled automatically. You can further improve your visibility by using clear, descriptive titles for your pages and writing helpful content that answers common customer questions. For a deeper look at these strategies, you can follow our step-by-step website design guide which covers how to align your content with what Kiwi customers are actually searching for.
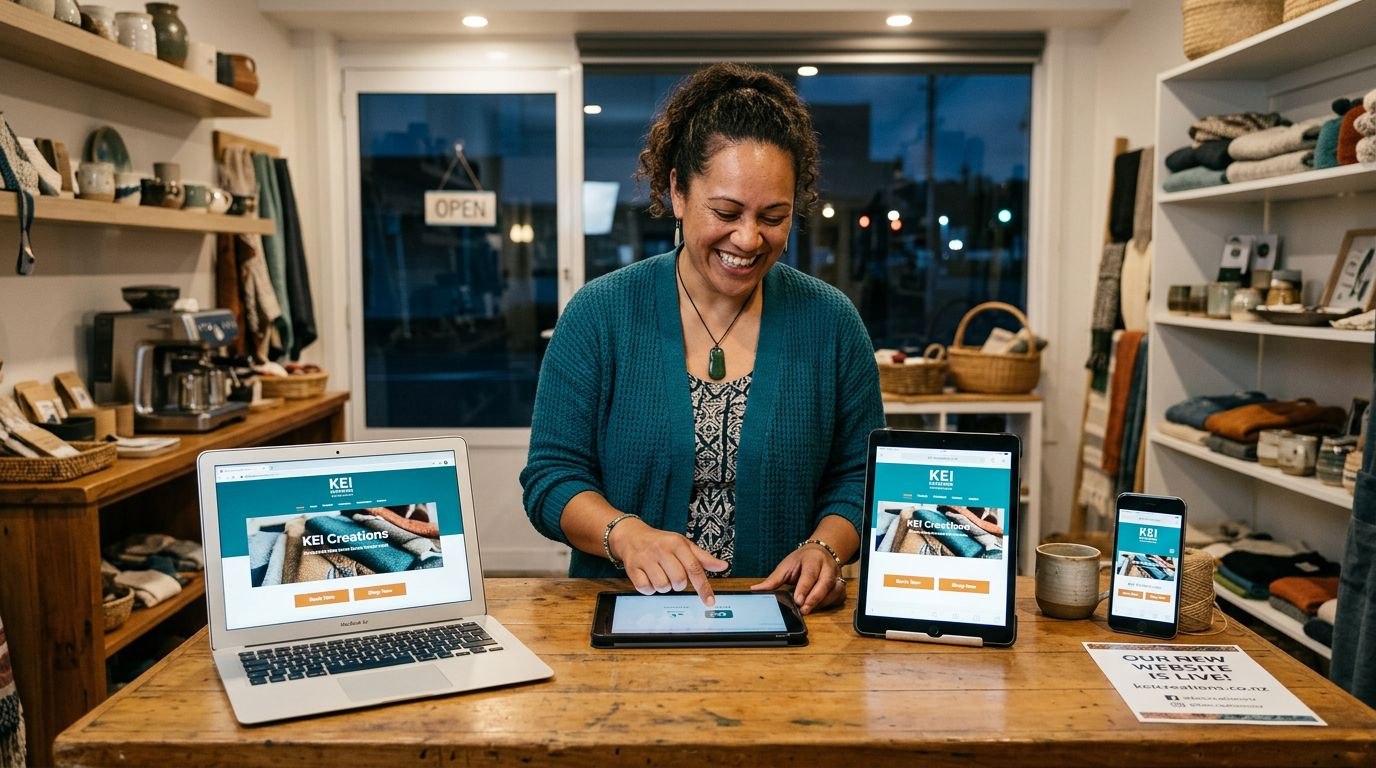
Step 7: Test, launch, and promote
Before you hit the publish button, you must test your site thoroughly. Open it on your phone, a tablet, and a computer to ensure everything looks correct. Click every link and fill out your contact forms to make sure the emails are arriving in your inbox. A common mistake we observe is launching a site without checking how the images appear on smaller screens. Taking ten minutes to double-check these details ensures a professional first impression.
Once you are live, the work of promotion begins. Add your website link to your email signature, your social media profiles, and your Google Business Profile. A website is a living asset, not a static brochure. You can continue to update your content and add new pages as your business grows. If you eventually find that you have outgrown the DIY approach, you can always step up to a comprehensive professional website package, which we offer for a flat fee of $2,499. Starting DIY is the best way to learn what your business truly needs online without a massive initial spend.